

To say I don’t know much about electronics would be very generous. I know Nothing. Zilch. Nada. Some other word indicating zero. Despite all my techy, nerdy swagger, the truth is that I don’t even own a proper soldering iron. Pathetic.

I do own a very improper soldering iron, however it has only ever touched actual solder once in its many years as my ward. I bought it for building boats of all things. “Boats?” you ask. No, of course not; actually it was for building ships (click here for an inane and 25 year old explanation of boats vs. ships). As a kid, my grandfather build model ships during his leisurely summer months and when I graduated from college that seemed somehow appealing to me. Knowing nothing at all about model boat construction, I picked up a not-entirely-simple-enough kit of the 1934 America’s Cup challenger, Endeavour.

For reasons that made a lot of sense at the time, I figured that if I was going to do learn the art of slapping together tiny unseaworthy vessels, I should start with one that would force me to learn nearly it all without shortcuts. The particular model I chose looked like this when it showed up.

A pile a wood sticks, a few impossibly tiny etched brass plates, and directions written in Italian (I know roughly as much Italian as I know about soldering). Nonetheless, the illustrations were excellent and the kit’s components were complete. So off I went . . . and a scant two years later it was done!

Great for me!

Pats on the back!

Well done, Mr. Ess!
Now I know you’re still wondering what the soldering iron has to do with crafting a mostly wooden model. The answer is steam. In order to get all those tiny little basswood and mahogany planks on the hull to sit just right involves soaking them in water over night, nailing them temporarily to the ship’s frame, then applying direct heat from a soldering iron to the plank. The heat flash-boils the water trapped in the little wood strip, transferring all that heat throughout the wood evenly. It’s actually the heat, not the water, that does the trick of turning the cellular walls all rubbery and allowing the wood to bend.

It also turns out to be totally unnecessary. I didn’t figure out that until I was pretty far along that when wood strips are only 1/32 of an inch thick, they don’t really need any help bending. But hey, I was learned a thing or two and in the end I had built a shiny new toy that I could put up on a shelf too high for my nephew to wreak havoc.
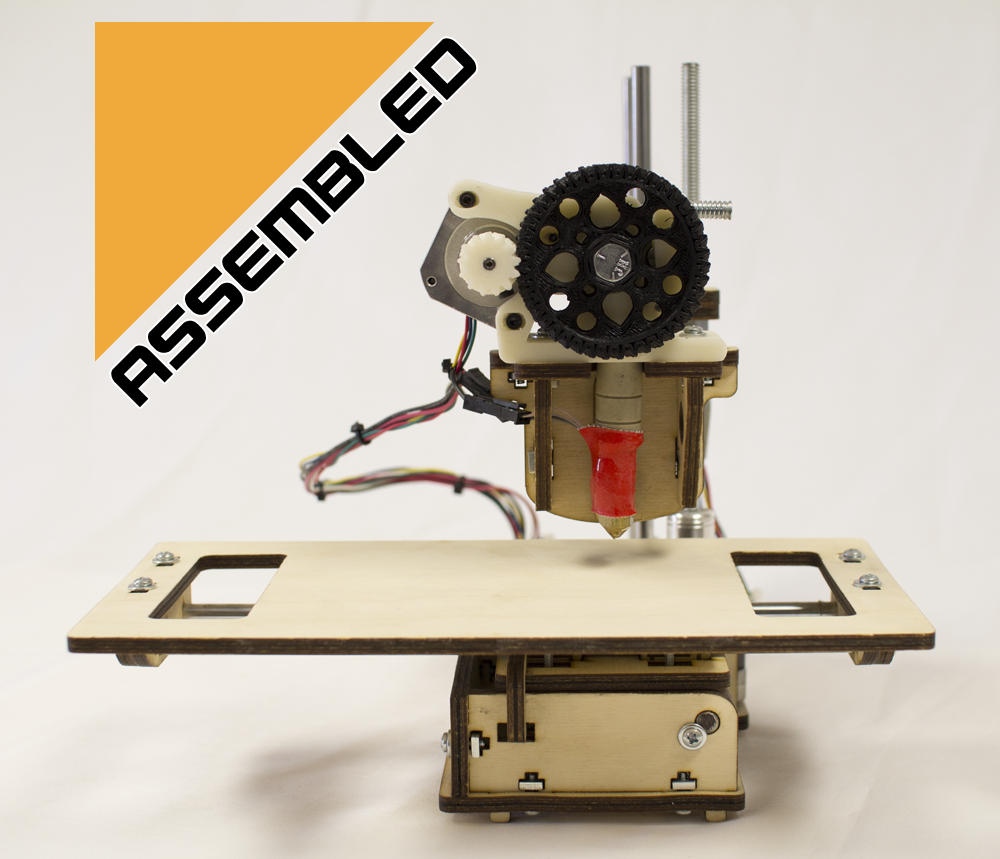
Now let’s refocus a bit on why we’re here, this guy:

If all I was looking to do was be able to print something, anything, there are much easier ways to get there than the H1. For example the folks over at Printrbot have some very appealing models, including the a fully assembled Printbot Jr. for $50 less than the unassembled H1!
And Solidoodle is offering the very tidy looking Solidoodle 2 for the same price as the Printbot Jr.

Then there’s the Replicator 2 from Makerbot Industries.

Yes, it’s $2200, and yes Makerbot shied away from the open source hardware model. But seriously, look at that thing! It’s an amazing achievement, and the folks at Makerbot deserve a lot of credit for bringing this bad boy along (full disclosure: I’ve have a huge nerd-crush on Bre Pettis since his days at Make: when he was doing the Weekend Projects series).

The appeal of the H1 is multifaceted. First, it gives me an opportunity to actually construct the product piece by piece. SeeMeCNC, aside from having an awkward name, has gone the extra mile in the creation of the H1 by providing things like injection molded parts rather than the printed parts that many of the smaller printer companies offer. The H1 also has a heated build platform for better printer performance and can use ABS, PLA or PVA for printing.

Finally, the H1 is an open source platform designed off of RepRap Huxley, and since I will be using RAMBo electronics the whole shebang will be the product of open source engineering (suck it capitalism!). Why does that matter? Well that’s a topic we can dive into later, but for now let’s just agree that it matters to me for a lot of reasons including the fact that there is a huge community out there of makers who are all involved directly or tangentially to the success of the RepRaps everywhere. That’s a pretty bit poor of knowledge that I am not ashamed of dipping my toes into if needed (and it will be needed, I’m sure).

Now if I were really hardcore about this little endeavor, I could have done it all myself. There is RepRap wiki on the Huxley design that theoretically walks you through the entire thing. But I’m not a masochist, and while I might put together a kit plane in my garage, I’m not going to mill the damn engine block myself.
So; relatively inexpensive, large community for support, the right combination of features. What’s not to love?
-Mr. Ess

Pingback: What Hell have we Wrought? | Jay Ess Prints